Create a project
In the Computational Pathology Portal, all available slides (images) are arranged and grouped in projects. All internal users can create new projects by following the steps below. External users cannot create projects, and can only be added to existing projects by the project administrator.
Steps to create a new project:
-
Click the button
-

Image: Top navigation bar, with functional elements highlighted
Highlighted elements in the top navigation bar
- Project selection
- Create project
- Jobs panel
- Upload slides
- Browse platform drop-down
- Help
- Account
-
-
A pop-up window will be shown
-
Enter a project name in the mandatory field
-
Optionally, enter a description for the project
-
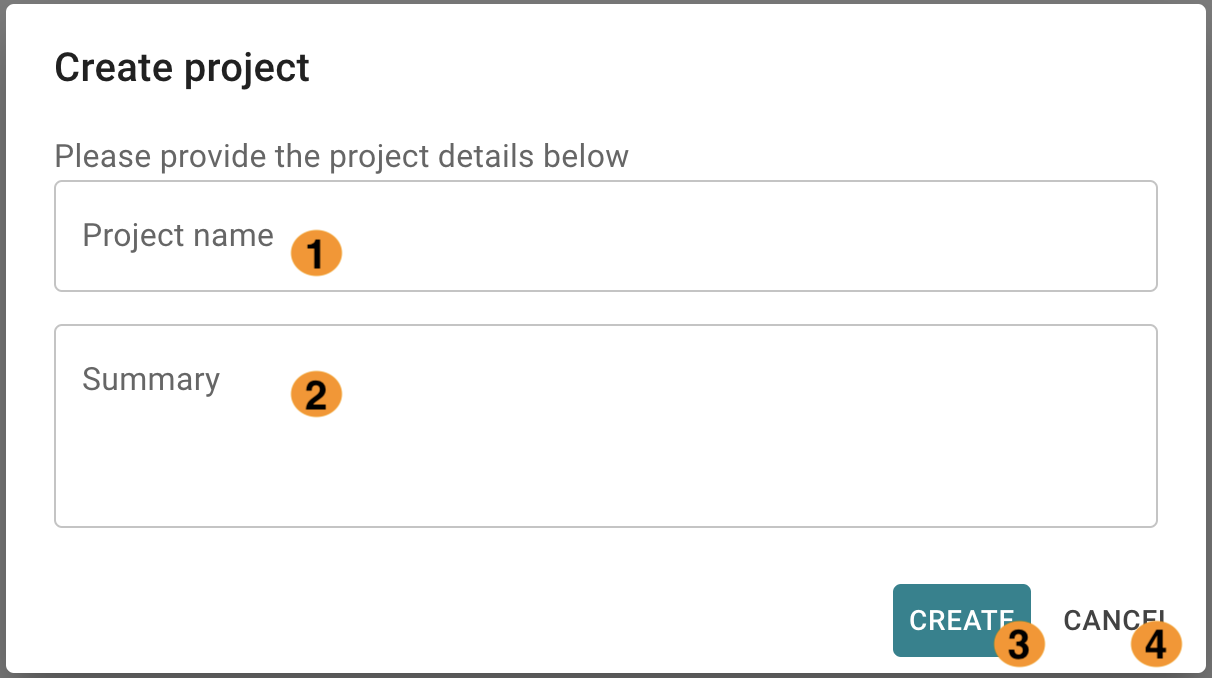
Image: Create project pop-up dialog, with functional elements highlighted
Highlighted elements in the pop-up dialog
- Project name entry field
- Project description entry field
- Create project button
- Cancel project creation button
-
-
Click the button to create a project
- Project name is unique across the CP Portal
-
If you enter a non-unique name in the pop-up dialog you will get an error message
- Example error message:
- The pop-up dialog stays open and you can adjsut the project name and try again
-
Alternatively, click the button to cancel project creation
- In this case, no project will be created
Tip: New project
- Once you create a project, the newly created project will automatically be opened, and you will be redirected to it
Switch projects
You can switch to a different project from any page in the CP Portal. Click on the project drop-down panel in the top navigation panel and select another project.
You can quickly find a project by using the quick-filter to filter for the desired project. Additionally, you can use the pre-filters on the left side of the panel to quickly filter for project categories.
After selecting a new project, you will be redirected to the slide list showing the contents of the selected project.
To switch to a new project:
-
In the top navigation bar, click on the project selection drop-down
- The project panel is shown with Projects pre-filter selected by default
- The Projects pre-filter will show you a list of all projects you have access to, regardles of your role in those projects
- Additional to the Projects pre-filter, Project panel also contains the Home projects pre-filter
- The Home projects pre-filter will show you a list of all projects marked as Home projects which you have access to, regardles of your role in those Home projects
-
From the project selection panel, click on a new project
- You can find the project you are looking for by filtering for it using the Filter input box in the project panel
- You can filter for the project by searching for any part of its name
- Project description is not searchable
- To quickly find Home project use the Home projects pre-filter, on the left hand side of the Project selection panel
- The selected project will be opened, and you will be redirected to the new project
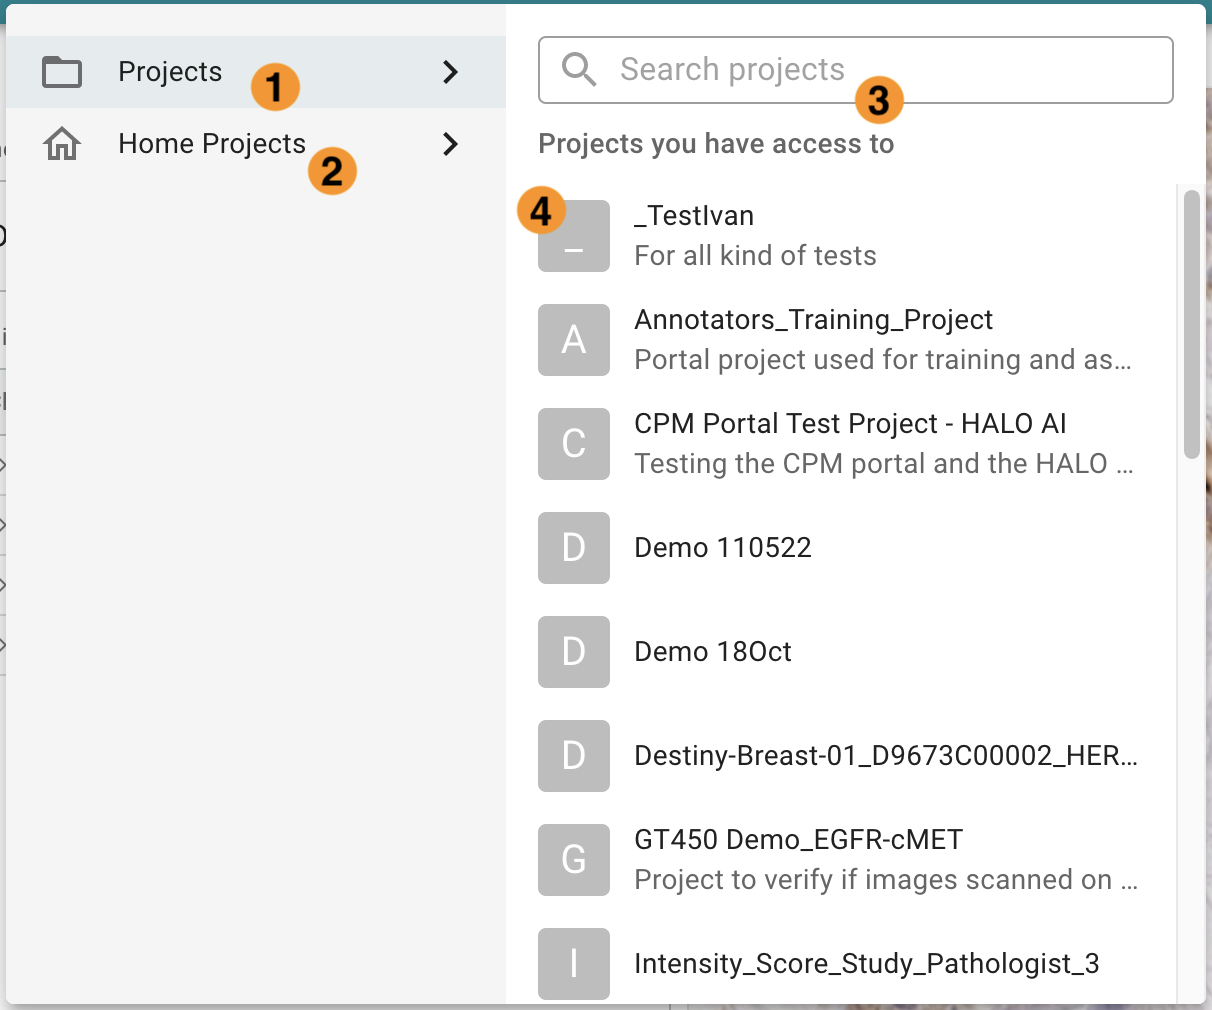
Image: Project selection drop-down panel
Highlighted elements in the Projects panel:
- Projects pre-filter
- Home projects pre-filter
- Quick-filter input
- List of projects, matching currently applied filters
Edit a project
Once you have created a project you can always edit its name, summary, or the project folder. Please note that you need to have project admin privileges to edit a project.
To edit a project:
- Click on the link, from the left side bar
- In the project settings tab, change the project name, summary, or folder ID
- Click the button to save the changes
- Alternatively, click the button to cancel, and not save the changes
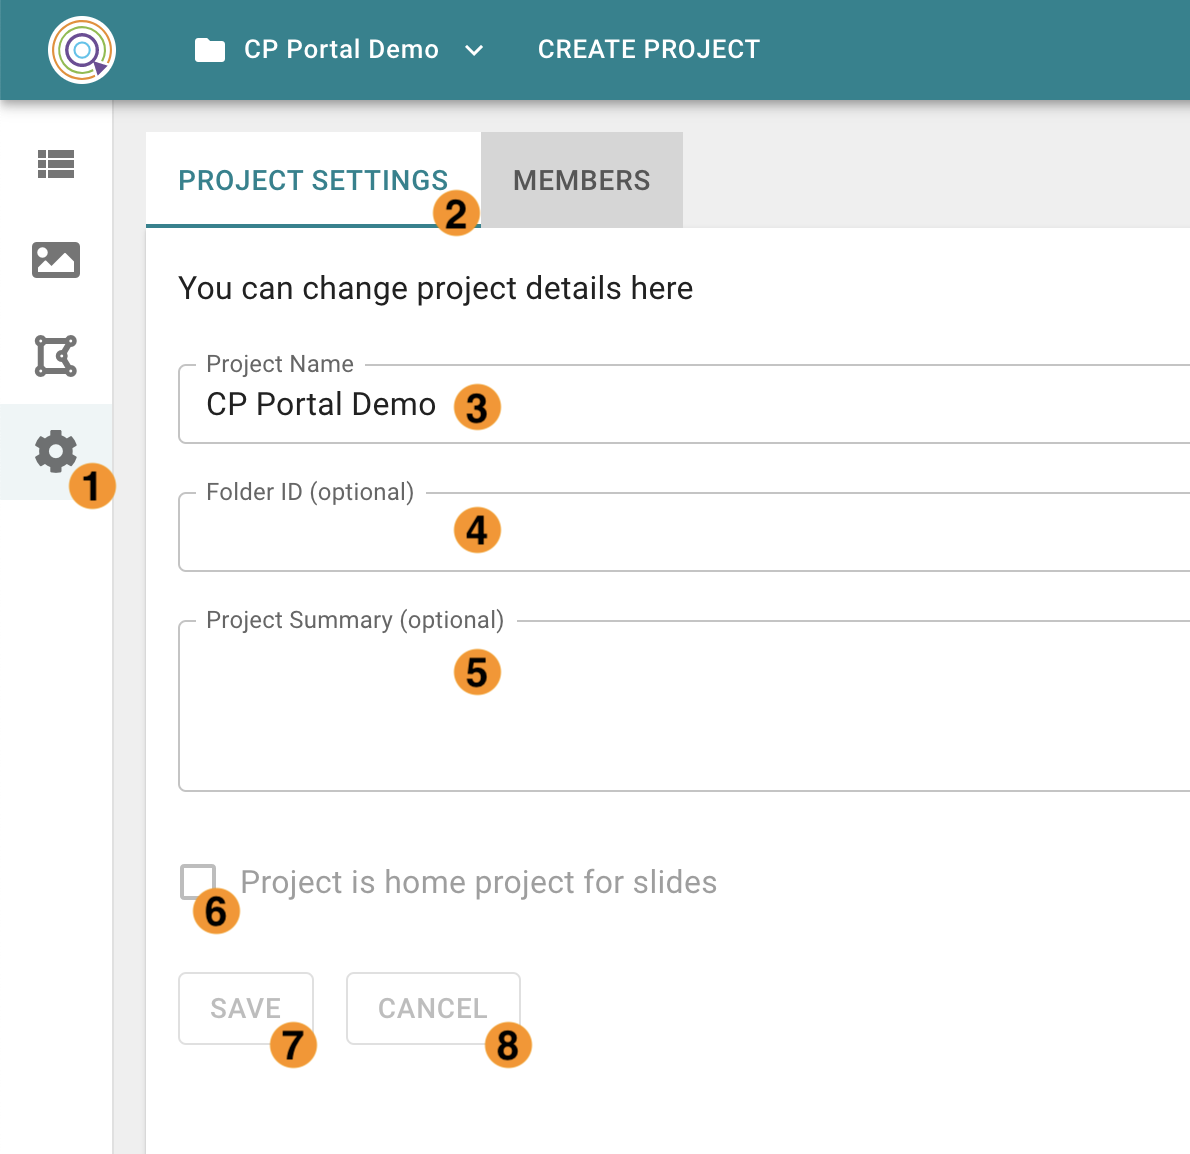
Image: Project settings page, with functional elements highlighted
Highlighted elements in the Projects settings page:
- Projects settings link, in the left side bar
- Project settings tab
- Project name input field
- Folder ID input field
- Project description input field
- Mark project as Home
- Save button
- Cancel button