View metadata
When you enter a project, the main metadata table (slide list) will be displayed automatically.
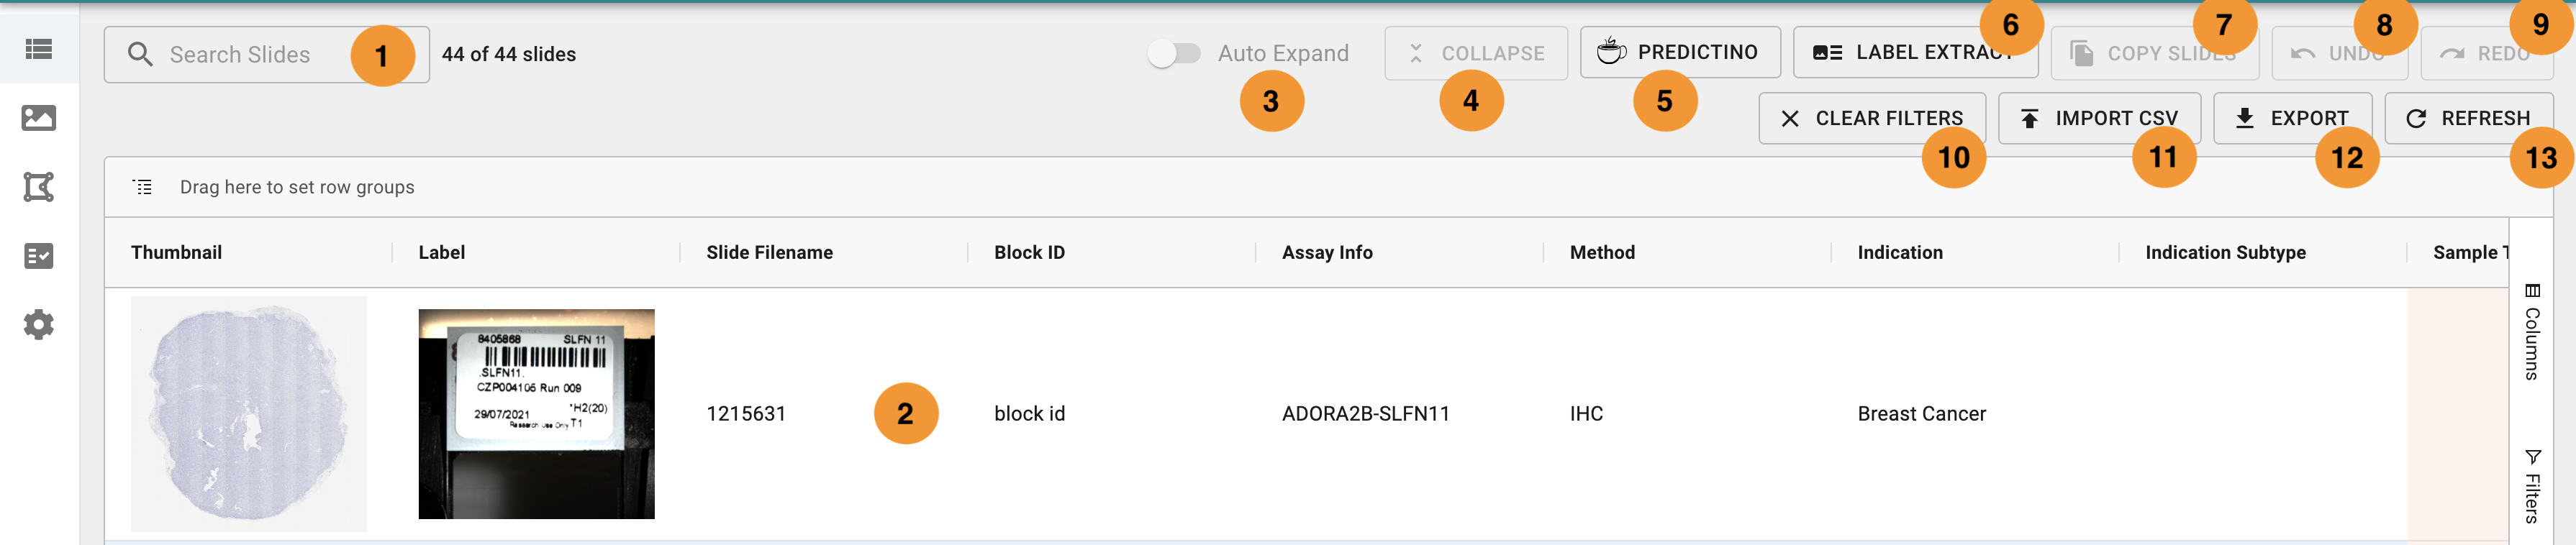
Image: Metadata table view
- Project slides search (global search)
- Metadata editor
- Auto expand all groups button
- Collapse all expanded groups button
- Launch Predictino button
- Label extractor button
- Copy slides button
- Undo button
- Redo button
- Clear filters button
- Import metadata in bulk button
- Export metadata button
- Refresh button
Enter metadata
Most of the metadata editor functionalities are similar to MS Excel. There are several ways to enter metadata:
-
To enter free text metadata, double-click on the cell and enter your text
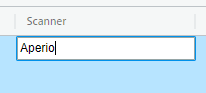
Image: Editing a free-text field
-
To enter a value from a controlled vocabulary, double-click on the cell and select the value from the drop-down
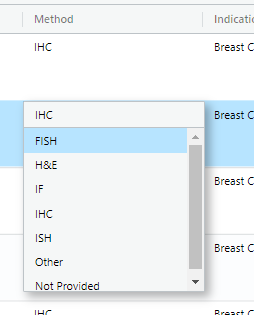
Image: Editing a controlled vocabulary field
-
To enter a date, double-click on the data cell, then click on the calendar icon in the date cell and select a date
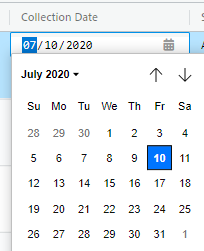
Image: Editing a date field
Entering other data types
- It is not possible to enter non-allowed values to certain cells (like those containing controlled vocabularies or dates) through bulk edit or copy-paste.
- This way it is ensured that these cells only contain allowed data types and contents.
- It is also not possible to enter or select deprecated values. They should be changed to a new, not-deprecated value.
Edit metadata
You can change any field by double clicking and editing the value.
You can delete the contents of a cell by clicking on it and hitting the backspace key or the delete key.
Connected Controlled Vocabulary
For some fields the available controlled vocabulary fields depend on the selected value in a different field. One example of such a field is Indication (new) which determines the available options in Indication Subtype (new).
Clearing of connected controlled vocabulary fields
- Note that when the leading or parent CV value (e.g. Indication (new) is changed, the system validates the dependent or child fields (e.g. Indication Subtype (new). If the value in the dependent field is no longer available for the new leading value, the field is cleared.
Editing metadata in image viewer
You can capture slide metadata in the image viewer while viewing the slide.
- Open an image in the image viewer
- From the side panel, click on the QC tab
- Select a preset based on your workflow
- Note that there are two default presets:
- All metadata preset, which will show all metadata for the current slide
- Minimal metadata preset, which will show only the minimal metadata set for the current slide
Edit a metadata field behaves the same way like in the main metadata table, with all options and permissions preserved.
You can change any field by double clicking and editing the value.
You can delete the contents of a cell by clicking on it and hitting the backspace key or the delete key.
Editing metadata in markers table
You can capture both slide and channel metadata in the Marker table.
To open the Markers table, simply click on the Marker/Channel View option in the sidebar.
Markers are grouped under each slide. You can expand the sldie group to see and edit metadata of all markers for that slide.
Edit a metadata field behaves the same way like in the main metadata table, with all options and permissions preserved.
You can change any field by double clicking and editing the value.
You can delete the contents of a cell by clicking on it and hitting the backspace key or the delete key.
Metadata edit permissions
When a field is not allowed to be edited by the current user it will display a lock icon in the top-right corner of that cell.
In the following example, Updated At (UTC) column cannot be edited by the current user, while the Image Set column can be edited by the current user.
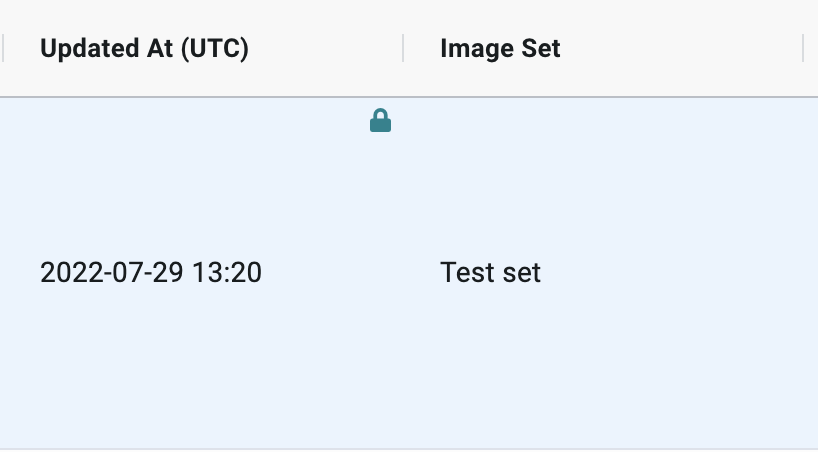
Image: Example of field editing permissions on one slide
User Edit Permissions
- Data Owner, Project Admin, Project Write and External users in your project can edit project-specific metadata, and slide-specific metadata of the slides not assigned to a home project.
- Only Data Owner can edit slide-specific metadata of the slides assigned to a home project.
- To see which columns are slide-specific and which are project-specific, please visit the Metadata Table: Data Dictionary page, and the column Metadata Type
Bulk enter/edit metadata
You can edit more than one cell by dragging the blue handle in the lower right corner up, down, or sideways.
The value of this cell will be copied to all the other cells that you dragged across, if this value is allowed in that cell.
You can also bulk-delete by dragging an empty cell across other cells.
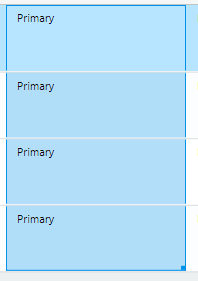
Image: Dragging value across cells
Label text extraction
You can extract Block ID and D-code metadata from the image label, if the label has that information on it.
- Filter the list of slides in the main metadata table to have a set of slides you want to extract text from
- Click on the button. This will open an Extract label text wizard
-
Select which column should be written to (Block ID, Study D-Code)
- If you want the Label extractor to automatically overwrite content of the Block ID column, then check the checkbox 'Write to Block ID column'
- If you want the Label extractor to automatically overwrite content of the Study D-Code column, then check the checkbox 'Write to Study D-code column'
-
If no checkbox is checked, all the text will be extracted and written to the column
- Individual values are automatically delimited with a "|" character, for easier parsing when exporting the value of this column
- Click and then click
This will submit a job that will extract labels from the selected images. You can track the status of the job in the Jobs panel.
Once the job is completed (it may take up to a few minutes) the metadata columns will be automatically populated:
- Block ID column will be populated for each image that has a Histo ID on its label
- Study D-code column will be populated for each image that has a D-code on its label
All other text extracted from the label can be accessed through the job's Details link in the Jobs panel.
Barcode, QR code, Data matrix code reader
When the Label text extractor is run, the barcode reader will be run as well. If there are any QR codes, data matrix codes, or barcodes on the slide label, the value from these codes will be recognized and read. The recognized value will be added at the end of the extracted text in the column.
Copy metadata from other tables
You can copy one or several cells from tables such as Excel to the metadata editor.
Add marker information
The CP Portal has a specialized cell type to allow for entering detailed marker and staining information. This is especially useful for multiplex slides. The marker and channel information that is entered here will also be applied to the equalization panel in the slide viewer.
To enter marker and staining information:
- Double-click on the assay info cell
- Click on button
- Select a marker from the drop-down
- Double-click on the other cells to enter channel, chromogen, and antibody information
- When done, click the button
If you enter more than one marker, the markers will appear in the assay info cell separated by hyphens.
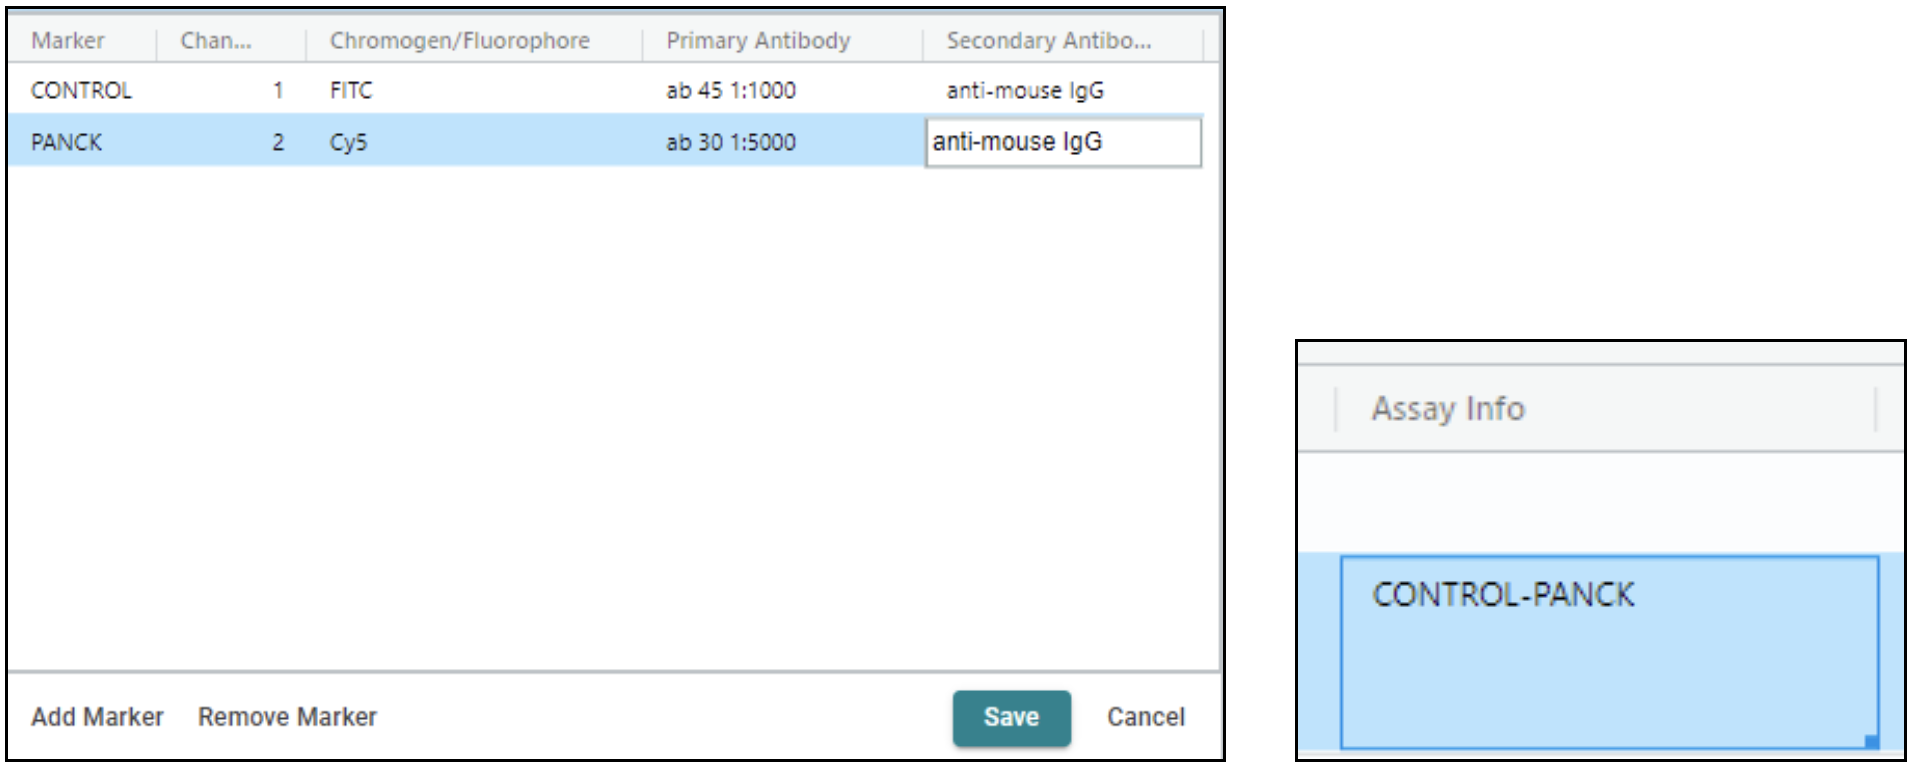
Image: Assay info field
Video: Editing assay info field
Find slides with global search
You can find slides in your project with a global search across all fields by using the search field in the upper left corner.

Image: Global search field
Filter slides by metadata
You can find slides by using the filter function in each column header:
- Hover over the column header. A hamburger icon (3 horizontal lines) will appear
- Click on the hamburger icon
- Click on the filter icon
- Select your filter choice (such as contains, starts with, ends with) in the first drop-down
- Enter your search term
- Slides will dynamically get filtered based on your search criteria
Note that filters of controlled vocabulary column will allow you to select terms to filter for from a list of available values, instead of typing your search term.
To reset the filter, click on the button in the filter menu or on the upper right corner in the header bar.
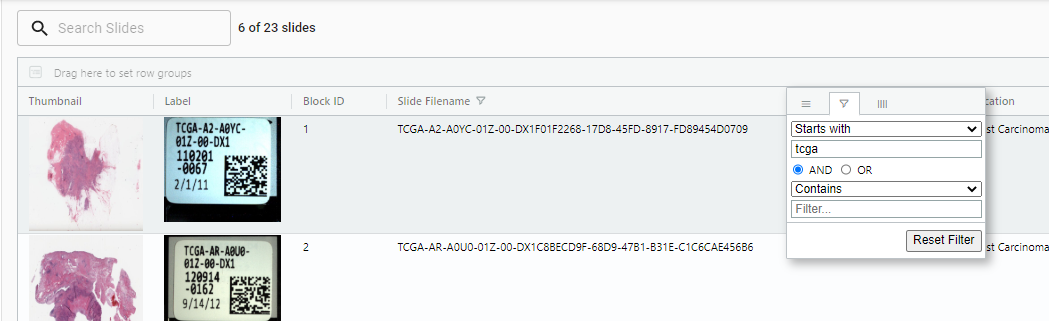
Image: Filter by column
A filter symbol is shown in every header that has an active filter, together with the blue background color for that column. You can combine multiple filters for a fine-grained search.
Applied slide filtering will be applied across all pages within the project. You can freely filter on one page, switch pages, and filters will be kept.
Sort slides
You can sort slides in the metadata table, by using the sort function in each column header:
- Clicking on the column header once will sort the entire table, with an alphanumerical ascending order
- Clicking on the column header the second time will sort the entire table, with an alphanumerical descending order
- Clicking on the column header the third time will remove the sort order
Group slides
You can see a sorted view for one or more metadata values using the group functionality.
-
Group by indication
Drag the column header to the uppermost row of the table.
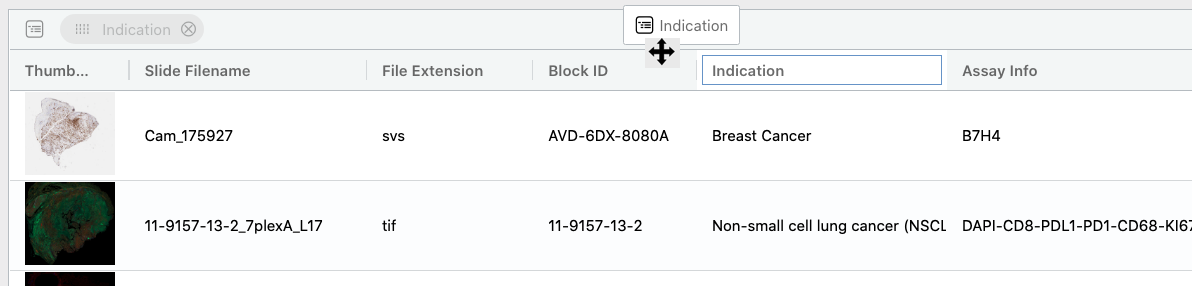
Image: Drag column header to group by that column
-
Extend the group
To see the slides that share the same indication, extend any of the groups by clicking on the left hand arrow.
For each metadatum, the number of unique slides is indicated in brackets.
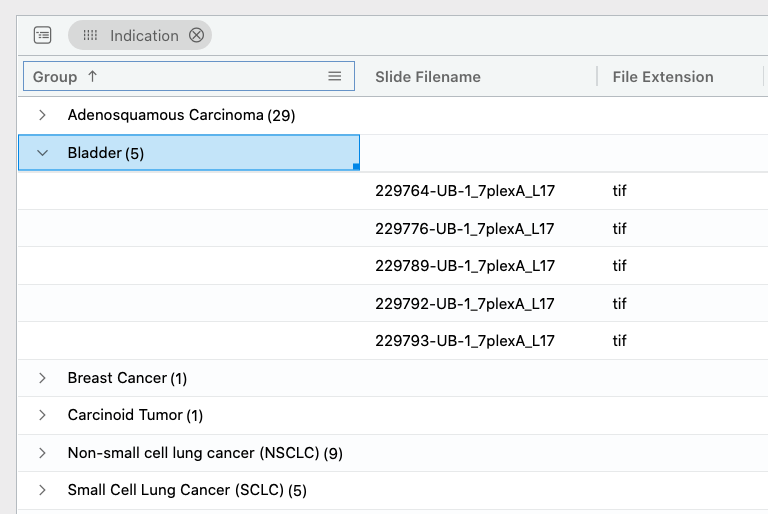
Image: Viewing entries within a group
Expand and collapse all
You can quickly expand all grouped rows by toggling the option. While this option is toggled on, all groups loaded afterwards will be automatically expanded. This means that all groups that you load by, for example, scrolling the Page down, will be expanded automatically without the need for you to do it manually.
Similarly, you can collapse all expanded rows by cliking on the button.